How to Install Solar Power at Home
Solar panel setups have grown in popularity as more and more people understand the benefits of using the sun’s rays to power their homes. If you’re considering jumping on the bandwagon, you may wonder if you should install solar panels on your own or hire an installer. We always recommend working with a professional solar installer. However, setting up solar power systems is possible on your own. In this guide, we’ll discuss how to set up a solar panel, the tools you need, and other vital information to help you have a successful installation.

A Step-By-Step Guide for Setting up Solar Power Systems
To set up a solar panel system on your own, you’ll need high-quality solar panels, mounting equipment, an inverter, a charge controller, deep-cycle batteries, wiring and connectors, basic tools, and safety equipment. These items will help you securely mount the panels, connect the components, and regulate the energy flow, ensuring a successful installation.
Once your materials and tools are ready, it’s time to set up your solar panels. Here’s a look at each step of this process.
How to Mount Your Solar Panels
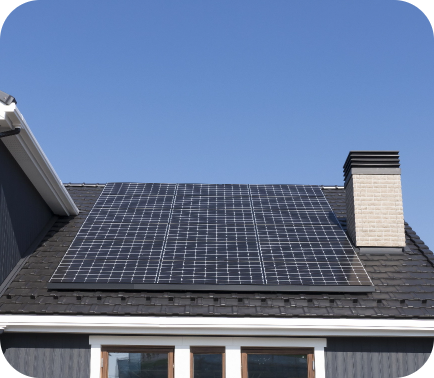
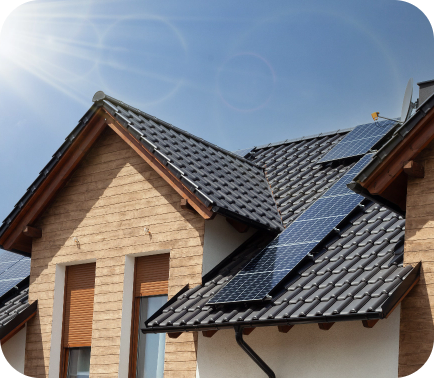
Mounting your system is an essential part of the solar panel setup process. To do so, find a good spot on your rooftop where the panels will receive a lot of sunlight throughout the day. Make sure there aren’t any obstructions, such as shading from trees or nearby buildings. Next, securely install roof anchors or mounting feet onto the roof to provide a stable foundation for attaching the mounting equipment. Attach the rails or frames to the roof anchors, and ensure they are level and properly aligned to support the panels.
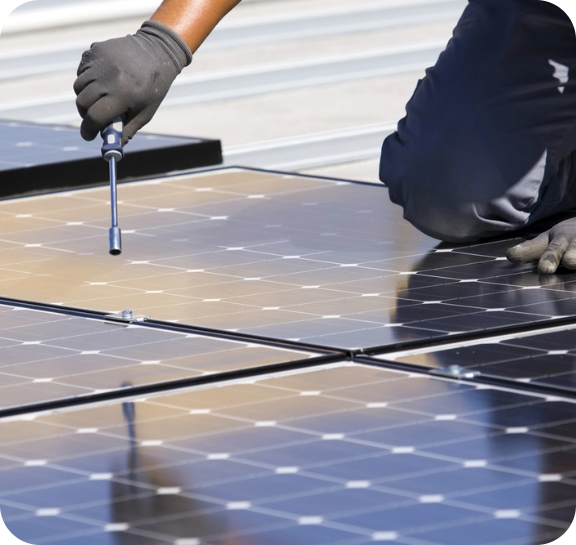
Once you’ve securely installed the mounting equipment, carefully place the panels onto the rails or frames. Make sure to align and evenly space the panels for optimal sun exposure. Use clamps or brackets to secure the panels to the rails or frames. Ensure the panels are tightly fastened to prevent movement caused by wind. After securely mounting the panels, connect the panels to the inverter and other components. Be sure to protect the wiring from damage and ensure proper insulation.
Risks of Setting up a Solar Power System Yourself
Keep in mind that setting up a solar power system yourself comes with risks and challenges. The biggest risks are the potential safety hazards. Electrical shock, short circuits, fires, and falling from your roof are just a few of the dangers associated with solar panel setup. You also risk installing your system incorrectly, leading to reduced energy production or system failure. Wiring mistakes are more likely to occur without professional expertise.
Solar setup on your own can also result in voided warranties if you don’t meet the manufacturer’s installation requirements. This means you’re responsible for any repairs or replacements if any of your equipment fails. Compliance with local building codes, electrical regulations, and utility requirements is also more challenging without professional help.
Why Work With a Professional Installer?
The safest way to set up solar panels is to hire a professional solar installer like Axia Solar. We have many years of experience with solar setups and can ensure a smooth and efficient process. Our installers understand complex systems, follow safety protocols, and comply with local regulations, giving you peace of mind that your solar installation is in good hands. We also provide high-quality equipment to ensure a reliable and long-lasting system.
Working with our professional installers ensures your system is installed safely and correctly. You won’t have to worry about electrical hazards or a system that fails quickly. Once installation is complete, we’ll walk you through your installation and answer any questions so you know how to use your solar panels. By working with Axia, you’re guaranteed a high-quality, compliant, and safe solar setup that will provide your home with the benefits of solar for many years to come.
Planning a Home Solar Electric System
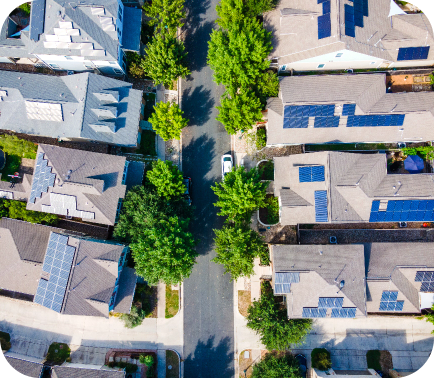
Planning your home solar setup involves several steps to ensure a successful installation. First, conduct an energy audit to assess your home’s energy efficiency and identify areas for improvement. This can include enhancing insulation, sealing air leaks, and upgrading to energy-efficient appliances. Next, evaluate your home’s solar potential by considering roof orientation, shading, and expected weather conditions. This will help you determine the amount of sunlight your home receives throughout the year.
After assessing your home, consider your options for using solar. Decide how much you want to offset your electricity usage with solar energy and whether you want to include solar battery backup. Analyze your past energy bills to estimate your solar needs and solar setup size.
Contact a reputable solar installer and schedule a site assessment. These assessments help installers evaluate your home’s requirements and provide an accurate quote. Discuss financing options with the installer, such as solar loans or leases, to make installation more affordable. Make sure also to explore local, state, and federal incentives, tax credits, and rebates that can reduce the upfront costs of a solar system.
Work closely with your solar installer to ensure a smooth installation. They can help you obtain the correct permits and approvals and coordinate with your utility company for proper interconnection and potential net metering opportunities. Keep in contact with your installer and utility company to address any concerns or questions you may have during installation. By following these steps and working with a reputable installer, you can plan and execute a successful home solar setup.

Monitor Your System
Once you’re finished setting up a solar power system, you should regularly monitor your system to ensure it’s running correctly. By monitoring your system, you’ll have real-time data about your system’s health and energy production to help identify potential issues. Regularly reviewing the data enables you to track energy output, compare it with your consumption, and identify any significant drops in production that could indicate equipment issues.
Detecting issues early can save you time and effort in the long run. Regularly monitoring your solar panel setup lets you quickly find potential problems before they escalate into major issues. Early detection helps you act quickly to address the underlying causes, preventing further damage or system failure. Addressing issues early may also help you avoid costly repairs and replacements resulting from neglected problems.
Make the Switch to Solar Today!
Now is the perfect time to embrace the benefits of renewable energy! With the advancements in solar technology, switching to solar is more accessible and cost-effect than ever. And when you work with a solar company like Axia, you’ll have a custom system designed to meet your home’s unique energy needs. Get your free quote today to learn more about the cost of a solar panel setup for your home and see how Axia can help electrify your life!