How to Test Solar Panels
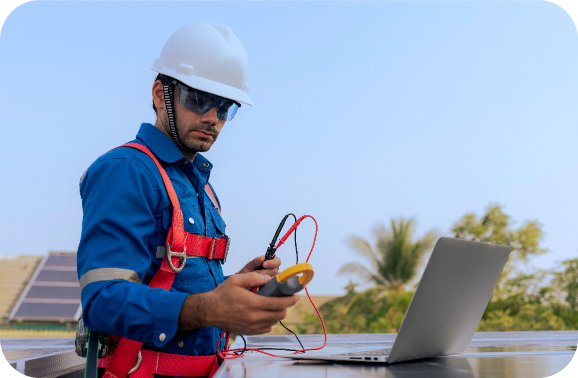
Regularly testing your solar panels is the best way to ensure they work efficiently. However, not everyone knows how to test solar panels correctly, which can lead to inaccurate results and potential system damage. We strongly recommend hiring a professional to test your system, but you can test your panels yourself with the right tools and knowledge. In this blog, we cover how to test solar panels correctly and what tools to use to ensure you get accurate results.
Why is Solar Panel Testing Necessary?
Testing your panels is the only way to know if your system works efficiently and produces the right amount of energy. When you measure the output, you can see if your system generates the right amount of power. If not, you can find system issues early and perform maintenance before encountering more serious problems.
Solar Panel Testing Tools
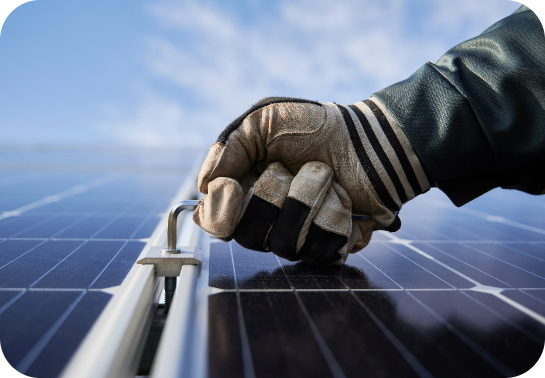
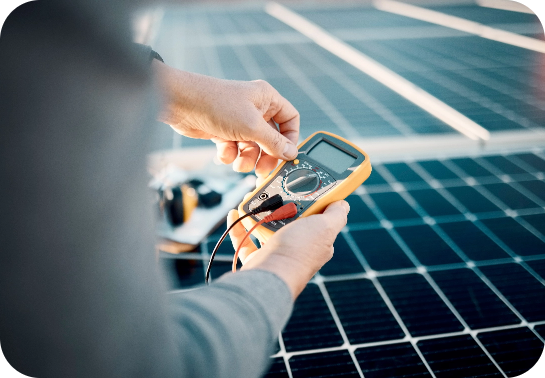
If you’re unfamiliar with solar panels and their components, you should work with a professional to avoid safety hazards and inaccurate results. However, if you want to test your panels yourself, the following tools can help
How to Test Solar Panel Output
The first step for testing solar panel output is to note the power rating. This is the maximum energy the panel can produce under ideal conditions. You can usually find it written on the panel. Next, measure the solar panel amperage to determine how much current the panel produces. Use a watt meter or a multimeter set to measure DC electricity.
Once you’ve completed these steps, it’s time to measure the voltage. Measure the panel’s voltage output by connecting the multimeter to the solar panel. Connect the multimeter’s positive and negative leads with the solar panel’s positive and negative leads. The multimeter should show the panel’s voltage output. The final step is to calculate the output. To do this, multiply the amperage by the voltage. For example, if the amperage is five amps and the voltage is 20 volts, the power output would be 100 watts.
How to Test Solar Panel Output with a Multimeter
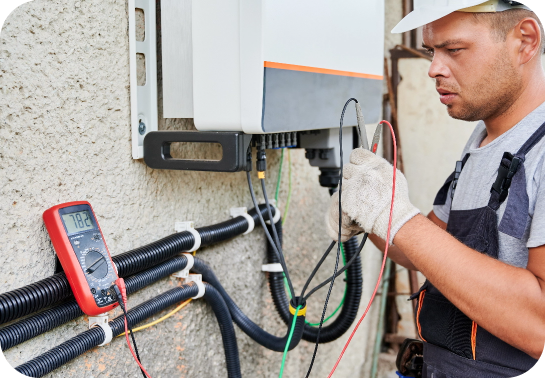
Before you start testing solar panels, locate the converter box next to the solar panels. The converter box is part of the solar system that turns direct current (DC) energy the panels produce and converts it into alternating (AC) electricity that powers homes. Your solar panels and converter box will have positive and negative connections. Identify the positive and negative wires and the master connects that connect the panels to the converter box.
After identifying the different wires, set your multimeter to measure DC voltage and amperage. Use the clips on your multimeter to connect the positive and negative leads to the master connections on the solar panel wires. Connect positive to positive and negative to negative. Once you know your panel’s voltage, you can also check the charge controller. Connect the multimeter leads to the positive and negative terminals on the charge controller, and note the voltage and amperage readings.
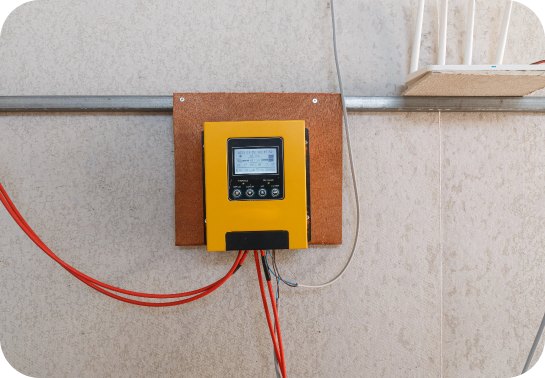
How to Test Solar Panels with a Solar Charge Controller
To test solar panel output with a solar charge controller, first, connect the battery to the solar charge controller. Connect the positive and negative battery terminals to the charge controller’s corresponding positive and negative terminals. Connect the panel to the charge controller by connecting the positive and negative wires to the charge controller’s corresponding positive and negative terminals.
Once everything is connected, check the charge controller’s display to see the voltage and amperage readings. Multiply the voltage and amperage to calculate the solar panel’s output.
Testing with a Watt Meter
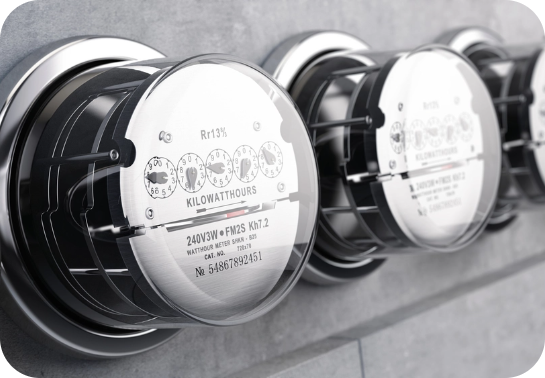
Watt meters are also helpful tools for testing solar panels. These meters help you assess efficiency, identify issues, and optimize performance. You can test your system with a watt meter by following these steps.
First, connect the battery to the solar charge controller. Make sure the positive and negative terminals on the battery are connected to the corresponding terminals on the charge controller. This connection helps the charge controller regulate the flow of electricity between the battery and the solar panels.
Connect the watt meter by attaching it to the charge controller’s output terminals. Connect the watt meter’s positive and negative wires to the charge controller’s corresponding positive and negative terminals. Attach the solar panel to the charge controller by connecting the positive and negative terminals on the charge controller.
After connecting everything, turn on the solar panel and the charge controller. The charge controller makes sure the solar panel’s power is used correctly, while the watt meter shows the voltage and amperage readings. Multiply the voltage and amperage to calculate the solar panel’s output.
Can You Test Solar Panels Without the Sun?
Yes, you can test solar panels without the sun. You can use artificial light such as a halogen, incandescent, or LED lamp to test solar panels instead of sunlight. You can also use solar simulators, which produce light that mimics sunlight’s intensity. To test a solar panel without the sun, connect it to a solar charge controller and a watt meter. Place the panel in front of the artificial light and turn it on. The watt meter should show the voltage and amperage readings.
Solar panels are designed to work most efficiently in natural sunlight. If you use artificial light, remember that the panel’s output may be lower than the output under natural sunlight. Test result accuracy may also depend on the quality of the artificial light you use.
Work with Axia Solar
Testing solar panels is a great way to ensure they produce the right amount of electricity. You can accurately test your panels with the proper steps and tools, like the ones mentioned above. If you don’t feel comfortable testing solar panels yourself, Axia Solar can help. Our experts can assist with everything from solar system installation to testing and maintenance. Contact us today to learn more about how we can help electrify your life.